The KatPad
Hello!
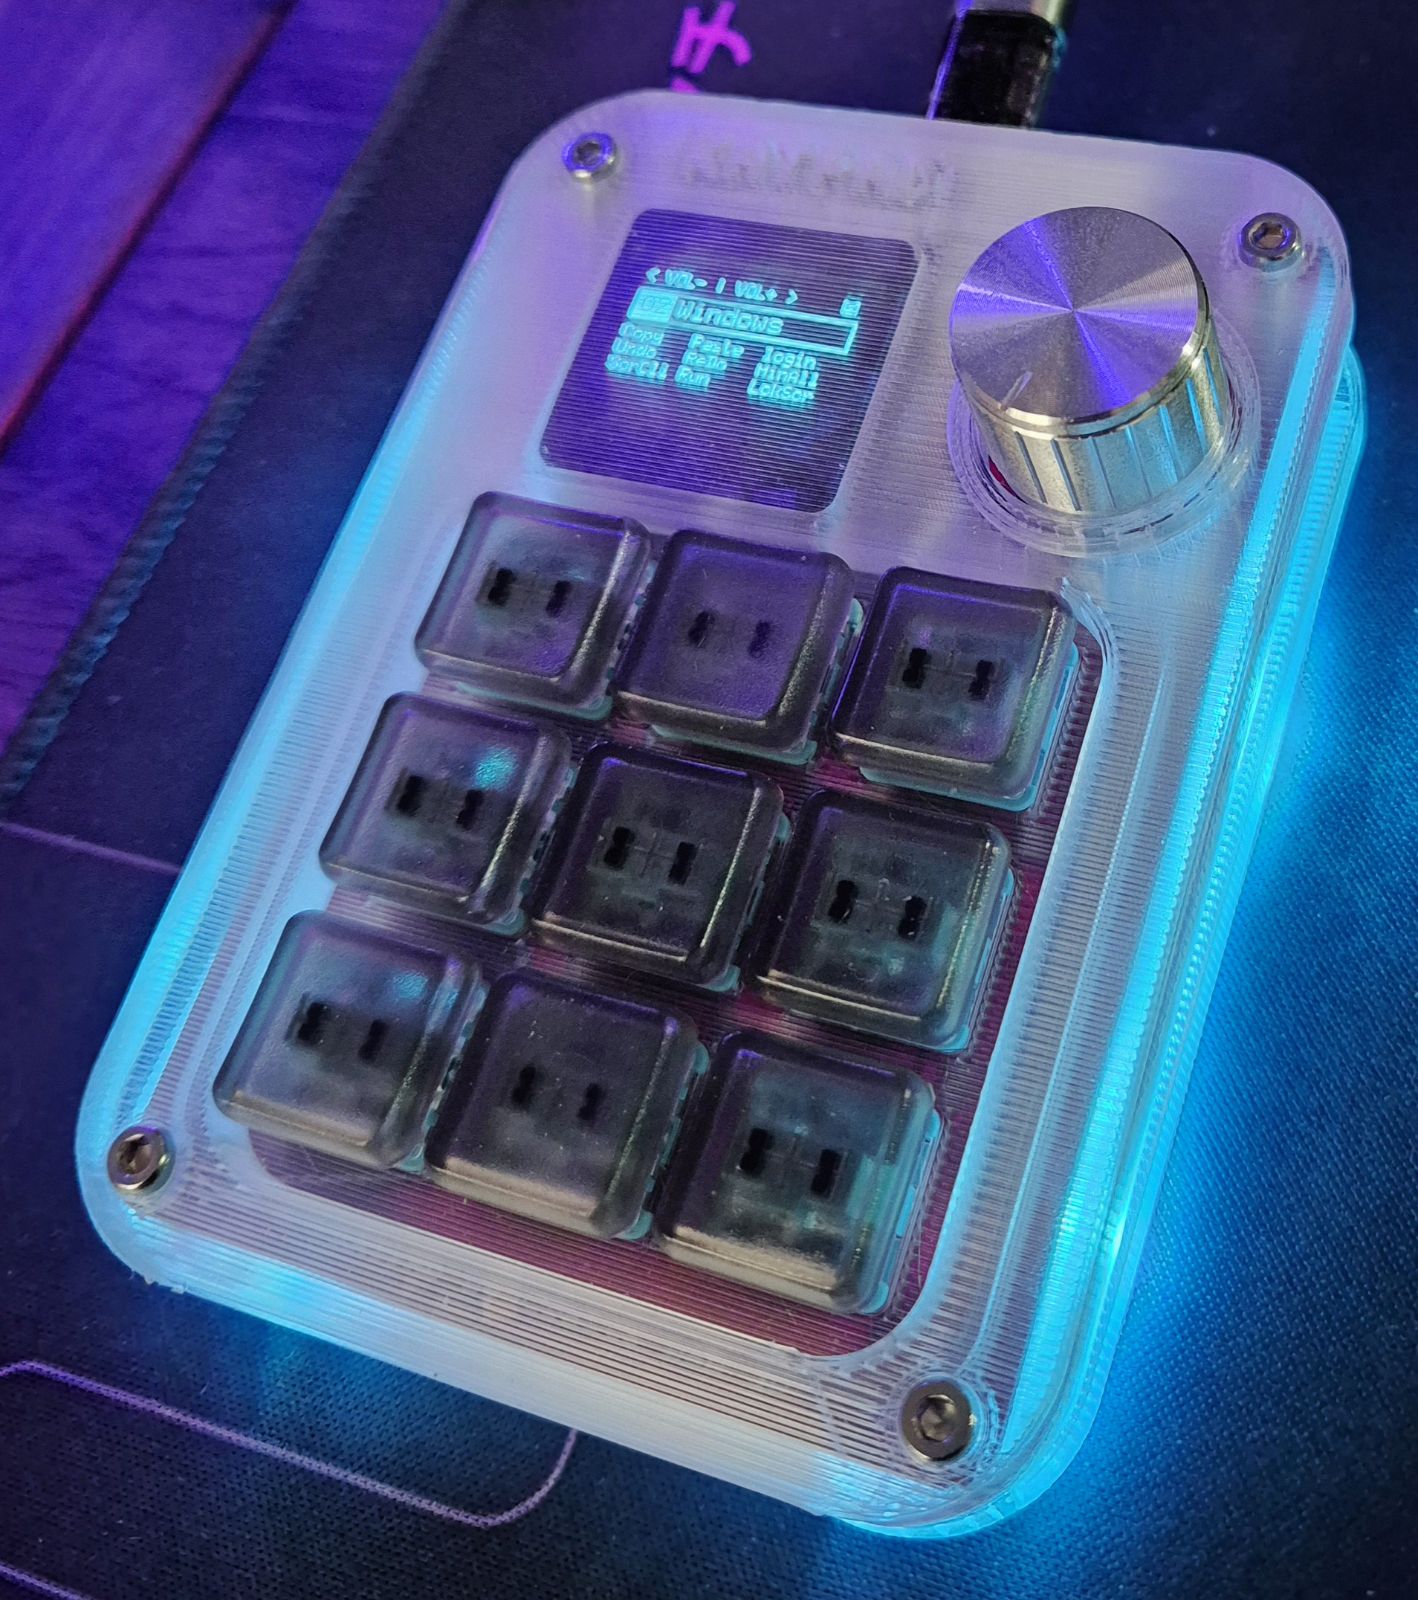
The KatPad is a 3D printed macropad in ICED PETG plastic and powered with the Sugoi-Macropad-Firmware created by Crafts Lab 3D.
The Sugoi-Macropad-Firmware has your own Programmer Software (Server Based) which makes it totally autonomous and free of a 3rd party software.
To get your KatPat set up, please follow the instructions below.
1. Configure your WIFI
First, plug your KatPad on your computer. Then, after the splash screen:
1 - Press and hold the knob for ~2 seconds, you will enter in the settings menu.
2 - Select Programmer Mode > ON
3 - You will be back to the main screen and you can see now CONFIGURE WIFI in the top
4 - ON your computer, go to WIFI configuration and connect to KATPAD-WIFI-AP and inform the password: craftslab3d
5 - Open your browser and go to : http://katpad-programmer.local/settings
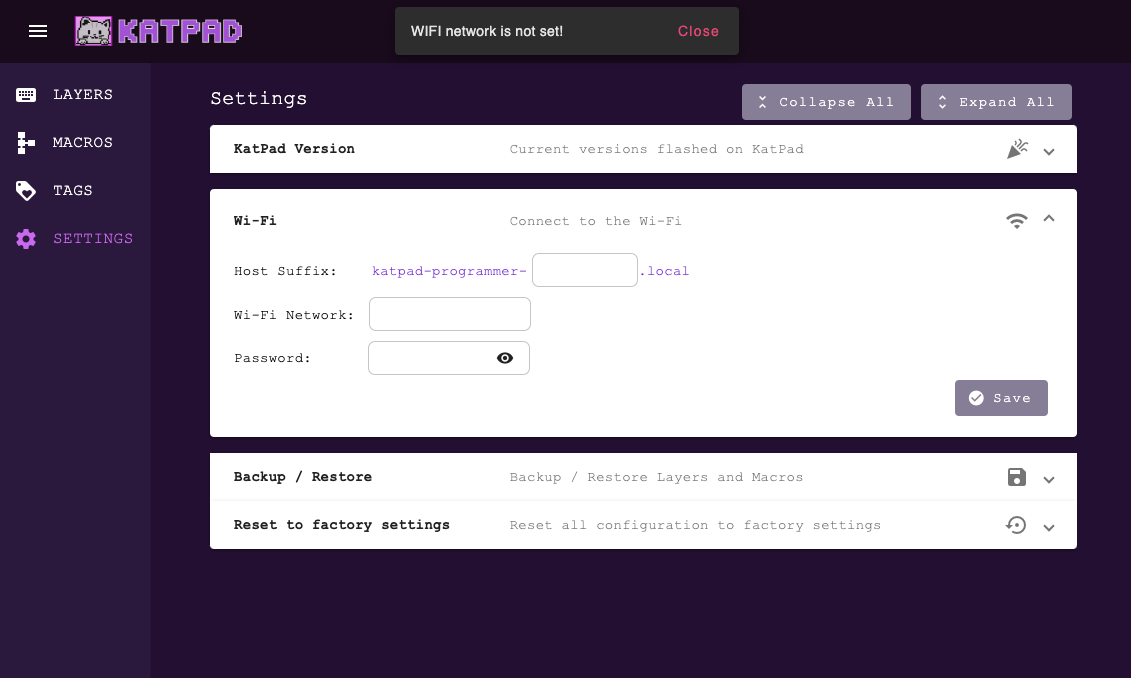
6 - On Wi-Fi > Wi-Fi Network inform your network name (SSID) and the password, then Save. Your KatPadt will restart.
7 - After the splash screen, go to Settings > Programmer Mode and select ON. You’ll be back to the main screen and you can see in the top: Connecting.... It can take some time.
8 - If the status changes to PROGRAMMER MODE, means that your WiFi was configured with success, you’re good to go.
9 - Now you can try to access: http://katpad-programmer.local/ and create your first macro!
2. Knowing your KatPad
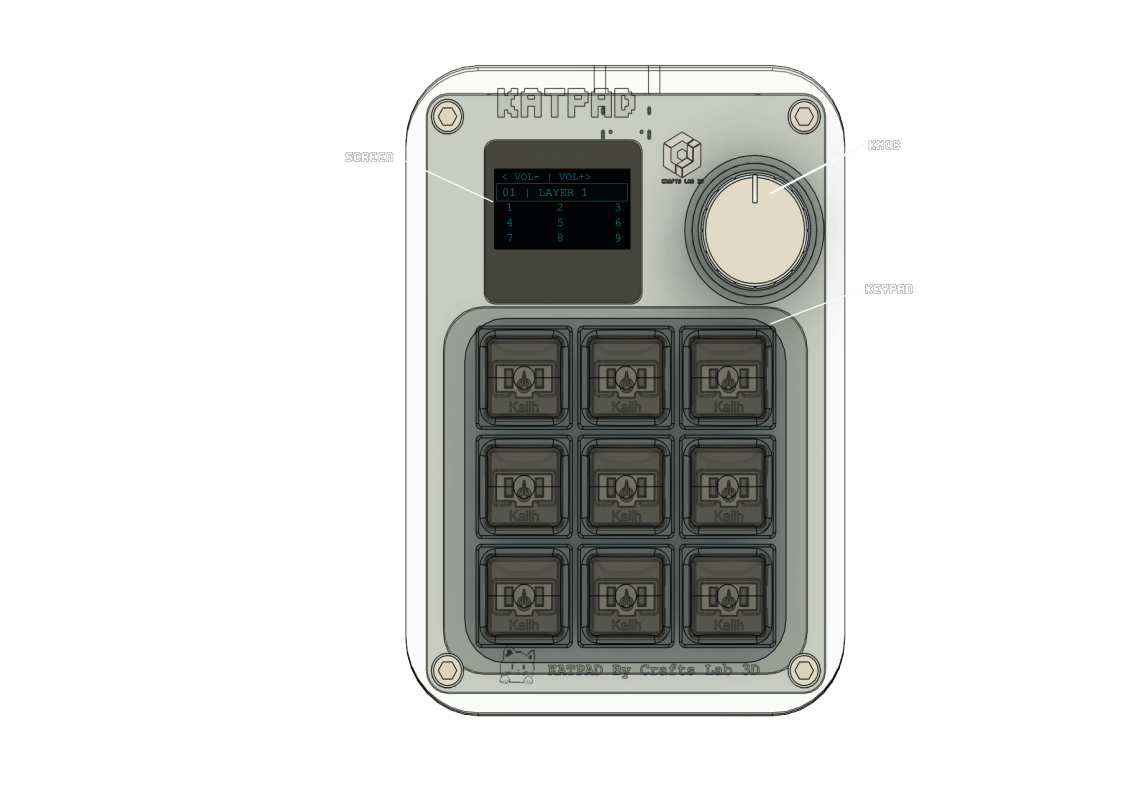
Let’s start with the basics! Your KatPad has an OLED screen, a keypad and a knob. The knob has some important functions:
1 - Single Press: it goes to the next layer when in the main screen or, when in the MENU, is used to choose an option.
2 - Long Press (hold for about ~2 sec): you enter in the MENU.
3 - Rotation: When in the main screen, is used as a normal key, you can map the clockwise and the counter clockwise direction! For example, you can map the volume, zoom for the desired application or any other key or macro.
In the other hand, when in the MENU, it’s used to navigate among the options.
3. OLED Screen
Your KatPad has an OLED screen to assist you with information such as current layer, layer’s key map, knob map, status and menu settings.
Bellow you can find a quick screen map.

3.1. Main Screen

The main screen you have all you need to know when using the KatPad: knob map, current layer and keys map.

In the 1st screen of the menu you can find all options available: lights, Programmer Mode, Reset WIFI, Restart and About

The main screen you have all you need to know when using the KatPad: knob map, current layer and keys map.

In the 1st screen of the menu you can find all options available: lights, Programmer Mode, Reset WIFI, Restart and About


The main screen you have all you need to know when using the KatPad: knob map, current layer and keys map.


In the 1st screen of the menu you can find all options available: lights, Programmer Mode, Reset WIFI, Restart and About


The main screen you have all you need to know when using the KatPad: knob map, current layer and keys map.

In the 1st screen of the menu you can find all options available: lights, Programmer Mode, Reset WIFI, Restart and About

The main screen you have all you need to know when using the KatPad: knob map, current layer and keys map.

In the 1st screen of the menu you can find all options available: lights, Programmer Mode, Reset WIFI, Restart and About

The main screen you have all you need to know when using the KatPad: knob map, current layer and keys map.